
Milk Paint and Why it's a Favorite
I recently found out why I love milk paint so much. I had never used it before and when I saw Natalie from My Vintage Porch
painting a piece using it, I was sold. I thought I would share a the process with you and tips I've learned through research.
First off... I have used Old Barn Milk Paint and Miss Mustard Seed Milk Paint I love them both equally!
SO whats the difference in this and other paints you ask?
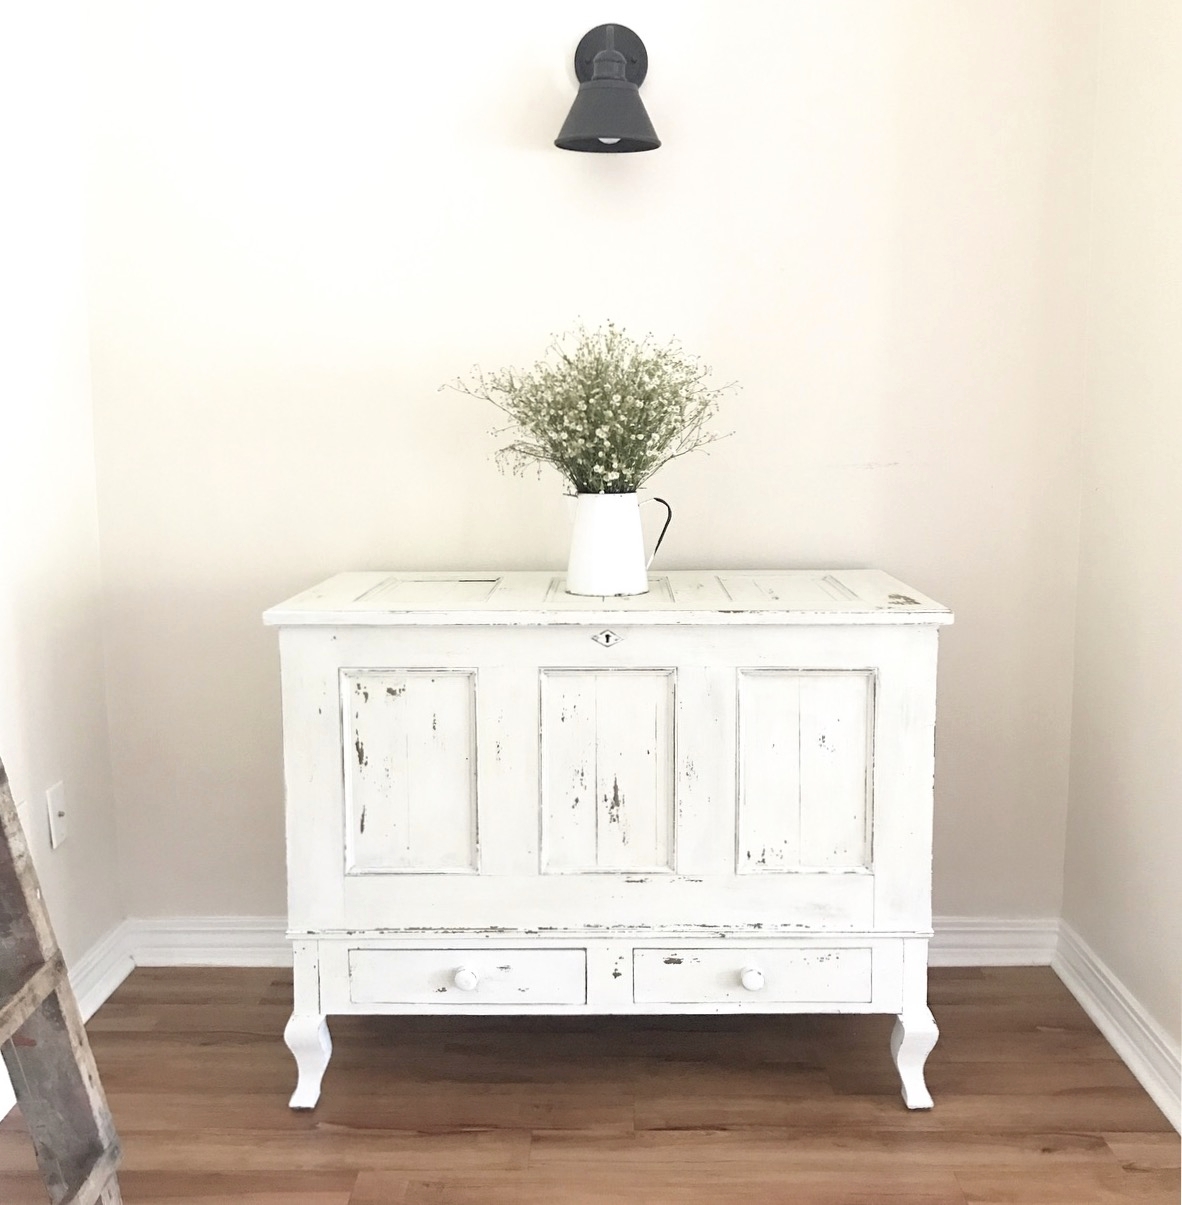
Well... you know how all these old furniture pieces have that white chippy finish to them??
Well that's what you get when you paint with milk paint! If you look back at my other post on some pieces I painted using different types of paint, you can see the difference. There are some tricks to get a lot of "chippiness" and since I have only painted a couple pieces using milk paint, I can only tell you what I have learned thus far.
Here is what I've learned....
1. Milk paint comes as a powder and is mixed with warm water which was super easy. Mix thoroughly to avoid clumps and continue to mix every ten minutes as you are painting.
2. One coat was not enough. Here is a picture of the original piece with no paint, then one coat, and a second coat. Two coats was the perfect amount for me.

3. Sand only a little bit so you can get the chippy effect. I sanded just a few spots but apparently wherever you sand, the paint will soak in and not chip as much. One piece I painted didn't chip at all and I think I either over sanded, or the wood was too absorbent and the paint didn't sit on top, if that makes since? There is a product called Bees wax she sells to add to your piece on areas you want more chipping before painting. Apparently you can also use this with other paints to create the chipping effect (I will be trying that also). Here is a Instagram video of me during the process. It is spliced together due to the 15 seconds instagram stories gives you. Also sorry for the lighting, but at least you get to see some of the process.

4. BE PATIENT!!I was so worried my piece wouldn't start chipping because I hadn't allowed it to dry completely. I started painting my piece later in the evening, as I do most projects, and when I was done, there was no chipping. SO... I went to bed and when I woke up the next morning...guess what? I saw spots where the paint had a bubbling effect. As soon as I started scraping, the chips started falling off.

Here is a closeup of the chippy goodness!
I still have a lot of learning to do myself, but I hope this has inspired you to try out Milk paint for yourself.